Cricut Printable Iron On How To
Cricut Printable Iron On How To - Let's dive into this delightful diy project that will leave your child beaming with joy. Allow 24 hours after application before washing. Plus see just how long this material will hold up in the wash. It has an adhesive on the back that is activated by heat (using a cricut easypress (my favorite) or traditional heat press. Save up to $400 on a machine.* make popular projects with a cutting machine. If you need to iron, only iron on the backside of the garment. Whether you’ve just purchased your first cricut machine like a maker 3, venture, or joy xtra or use an older model like a cricut explore series machine or original maker, i can help you learn how to use your new machine to its full potential! Preheat your easypress to 340 degrees and let it heat up. Free svg files for download. That's what you'll learn in this tutorial. Do i need transfer tape? Or apply with household iron. Ensure the page is oriented on the mat as it appears in design space. Allow 24 hours after application before washing. Preheat your easypress to 340 degrees and let it heat up. Wash and tumble dry inside out. Traditional iron temperatures vary up to 93ºc (200ºf), making quality heat transfers impossible. When the cut is complete, select unload. You can use it on many types of fabric blanks, as seen below. I suggest you bookmark the cricut heat guide and print off my cricut easypress temperature guide. Check out this hot new product from cricut! This new product comes in 2 varieties, dark and light, and works with. If you need to iron, only iron on the backside of the garment. Preheat your easypress to 340 degrees and let it heat up. Or apply with household iron. Let's dive into this delightful diy project that will leave your child beaming with joy. Or apply with household iron. More info below 👇before yo. I suggest you bookmark the cricut heat guide and print off my cricut easypress temperature guide. When the cut is complete, select unload. Allow 24 hours after application before washing. Free svg files for download. Do i need transfer tape? Save up to $400 on a machine.* make popular projects with a cutting machine. You can use it on many types of fabric blanks, as seen below. If you need to iron, only iron on the backside of the garment. Save up to $400 on a machine.* make popular projects with a cutting machine. That's what you'll learn in this tutorial. Ensure the page is oriented on the mat as it appears in design space. Get all the details here and let's start crafting! If you need to iron, only iron on the backside of the garment. Or apply with household iron. Create your diy shirts, decals, and much more using your cricut explore, silhouette and other cutting machines. Images produced on may 14, 2019 by cricut quality assurance team using flir e8 infrared camera (0.3m; 💗join during our valentine’s day sale to get. I’m going to show you how to use both of them, compare how they work on colored fabrics, and put them to the test through the wash. Ensure the page is oriented on the mat as it appears in design space. Wash and tumble dry inside out. You can use it on many types of fabric blanks, as seen below.. For use with all cricut® cutting machines. Cricut or silhouette (i used my cricut maker) Preheat your easypress to 340 degrees and let it heat up. If you need to iron, only iron on the backside of the garment. It has an adhesive on the back that is activated by heat (using a cricut easypress (my favorite) or traditional heat. Let's dive into this delightful diy project that will leave your child beaming with joy. Preheat your easypress to 340 degrees and let it heat up. This is a printable htv that is. Ensure the page is oriented on the mat as it appears in design space. You can use it on many types of fabric blanks, as seen below. 💗join during our valentine’s day sale to get your first month for only $14 using code “love” at checkout! Wash and tumble dry inside out. Save up to $400 on a machine.* make popular projects with a cutting machine. This new product comes in 2 varieties, dark and light, and works with. Free svg files for download. Ensure the page is oriented on the mat as it appears in design space. For use with all cricut® cutting machines. It has an adhesive on the back that is activated by heat (using a cricut easypress (my favorite) or traditional heat press. This new product comes in 2 varieties, dark and light, and works with. I suggest you bookmark. It has an adhesive on the back that is activated by heat (using a cricut easypress (my favorite) or traditional heat press. You can take that image and put it onto a shirt,. Preheat your easypress to 340 degrees and let it heat up. Get all the details here and let's start crafting! Whether you’ve just purchased your first cricut machine like a maker 3, venture, or joy xtra or use an older model like a cricut explore series machine or original maker, i can help you learn how to use your new machine to its full potential! Select go and watch the magic happen! Do i need transfer tape? Wash and tumble dry inside out. I suggest you bookmark the cricut heat guide and print off my cricut easypress temperature guide. 💗join during our valentine’s day sale to get your first month for only $14 using code “love” at checkout! Create your diy shirts, decals, and much more using your cricut explore, silhouette and other cutting machines. For use with all cricut® cutting machines. Allow 24 hours after application before washing. Printable iron on is a heat transfer material on which you can print an image. I’m going to show you how to use both of them, compare how they work on colored fabrics, and put them to the test through the wash. This is a printable htv that is.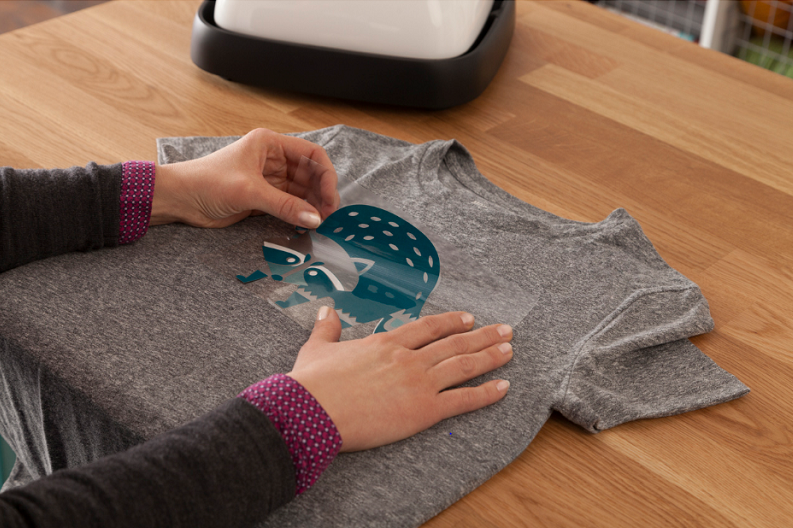
Cricut Printable Iron On Tutorial
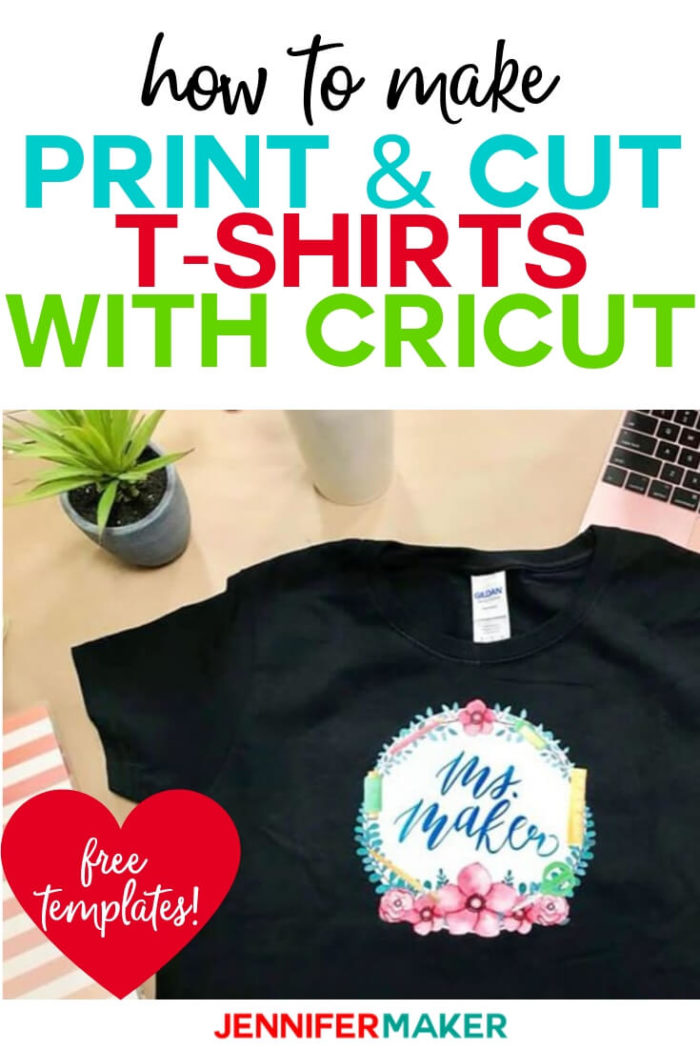
Print Then Cut Cricut Transfer TShirts Jennifer Maker

How To Use Printable Iron On Cricut

How to use Cricut Printable IronOn YouTube
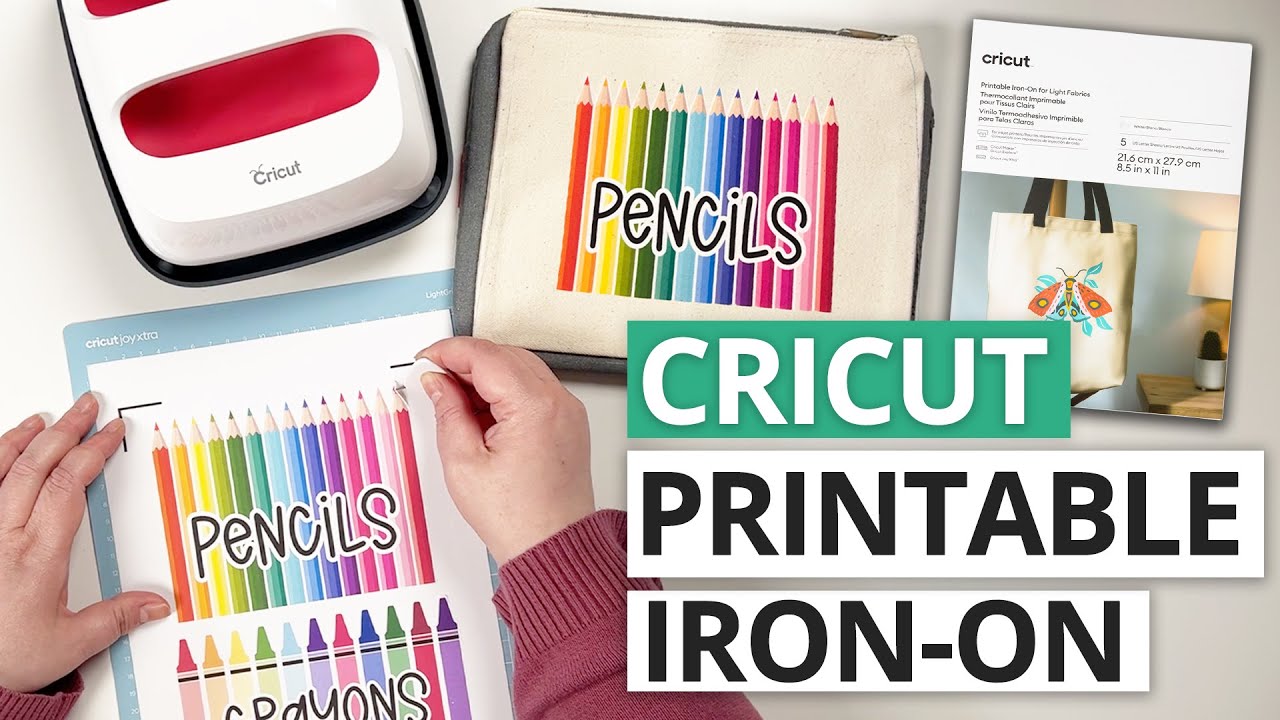
NEW CRICUT How to use Printable Iron On for Light Fabrics YouTube

How to Use Cricut Printable IronOn (including wash tests!) YouTube

How to Use Printable Iron On with your Cricut Hey, Let's Make Stuff

Cricut Iron On Printable Vinyl
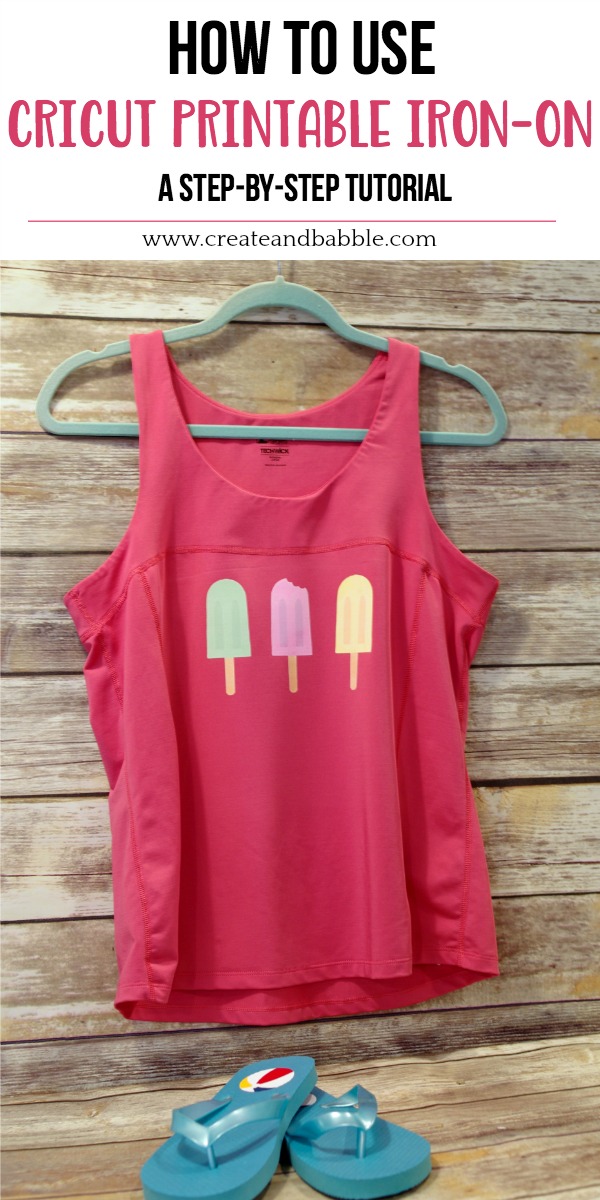
How to Use Cricut Printable IronOn Create and Babble

How To Use Cricut Printable Iron On
This Is A Step By Step Video On How To Create Your Own Image (Or One That You Found From Google) And Upload It Into The Cricut Design Center.
Ensure The Page Is Oriented On The Mat As It Appears In Design Space.
Or Apply With Household Iron.
For Use With All Cricut® Cutting Machines.
Related Post: